 Skip to content
Shower leaks often begin as minor, hidden issues. Over time, they can damage floors, walls, ceilings, and substructures. Early detection helps prevent structural deterioration, mould growth, and costly repairs. This guide outlines the key warning signs, DIY detection methods, and prevention strategies to keep your bathroom protected.
Why Early Detection Matters
Early identification of shower leaks helps prevent:
- Moisture absorption into walls, floors, and cavities.
- Structural weakening due to long-term dampness.
- Mould growth, odours, and respiratory risks.
- Expensive repairs, including tile replacement and subfloor restoration.
Acting early ensures faster, simpler, and more affordable repairs.
Key Signs of a Leaking Shower
Mould or Musty Odours
Persistent musty smells often indicate moisture trapped behind tiles or under flooring.
Cracked or Missing Tiles and Grout
Damaged grout or loose tiles allow water to seep behind shower surfaces.
Water Stains on Ceilings or Adjacent Rooms
If your bathroom is upstairs, stains on the ceiling below often signal leakage.
Damp, Warped or Lifting Flooring
Moisture escaping from the shower can cause timber or laminate floors to swell or buckle.
Bubbling or Peeling Paint and Wallpaper
Moisture behind walls breaks down adhesives and paint layers.
Swollen Skirting Boards and Timber Fixtures
Wood expands when exposed to leaks, leading to raised, damaged, or deformed areas.
DIY Leak Detection Methods
Visual Inspection
Examine corners, grout lines, tiles, joints, and ceilings for visible signs of moisture damage, cracks or mould.
Water Flood or Drain Test
Plug the drain, fill the shower base with water, and observe surrounding areas for dampness. This helps pinpoint base or drain-related leaks.
Fixture and Plumbing Check
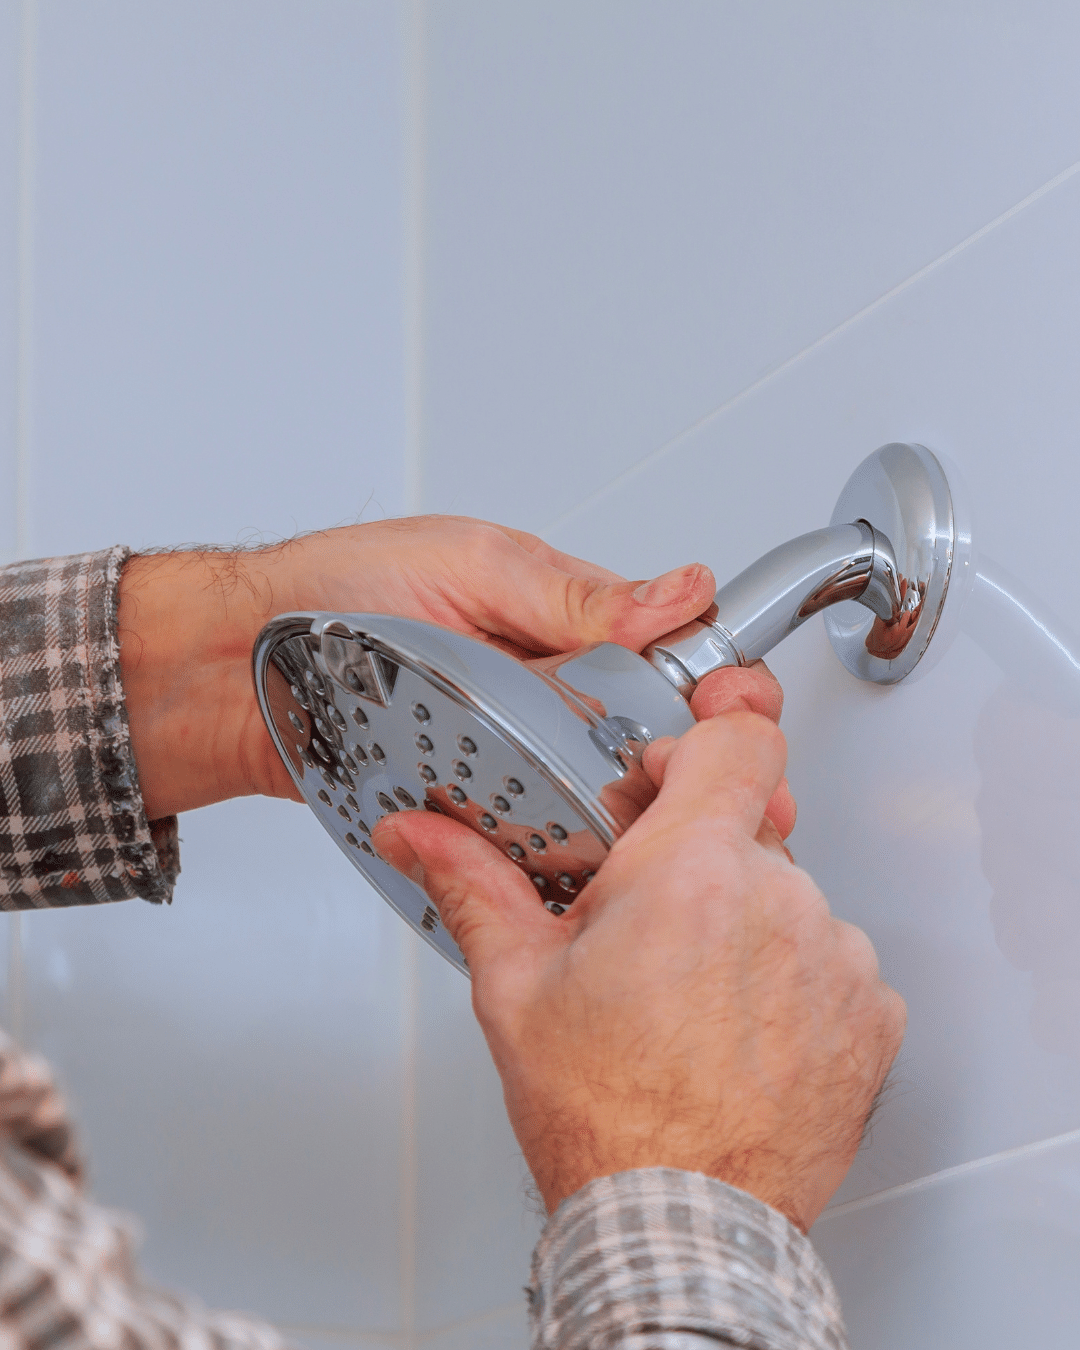
Inspect taps, mixers, shower heads, and drain connections for drips, loose fittings or worn seals.
Moisture Meter or Thermal Imaging Test
Use moisture meters or thermal cameras (if available) to detect hidden leaks behind tiles, walls or subfloors.
What to Do If You Suspect a Leak
- Document visible signs such as stains or damaged tiles.
- Minimise or stop shower use until the leak is identified.
- Repair small issues like reapplying sealant or replacing cracked grout.
- Contact a licensed plumber or leak detection specialist for concealed or complex leaks.
- Retest the shower after repairs to confirm the issue is resolved.
Preventive Measures to Avoid Future Leaks
- Inspect grout, sealant and joints annually.
- Improve bathroom ventilation to reduce humidity.
- Use premium waterproof sealants during installation or renovations.
- Replace worn grout and silicon as soon as deterioration appears.
- Regularly check plumbing fittings for drips or looseness.
Shower leaks often remain hidden until damage becomes significant. Understanding the early warning signs and using simple detection methods helps homeowners prevent costly repairs. Regular maintenance, quality materials and prompt action are essential to keeping your shower leak-free and structurally sound.
